Appointments Settings controls the rules that govern how scheduling works across your entire operation. Before you start booking shifts, spend five minutes here. Getting these defaults right means your scheduling flows smoothly instead of working around limitations later.
Overview
The Appointments Settings page allows you to control how scheduling works within ProTeams. From this section, you can define working days, time intervals, check-in rules, and location-based restrictions for your team.
To access this page:
- Go to Account
- Click Settings
- Select Appointments
Appointment Configuration Tabs
The Appointments Settings page is divided into four sections:
- General
- Scheduling
- Check-in
- Geo-Fencing
Each tab controls a specific part of how appointments are created and managed.
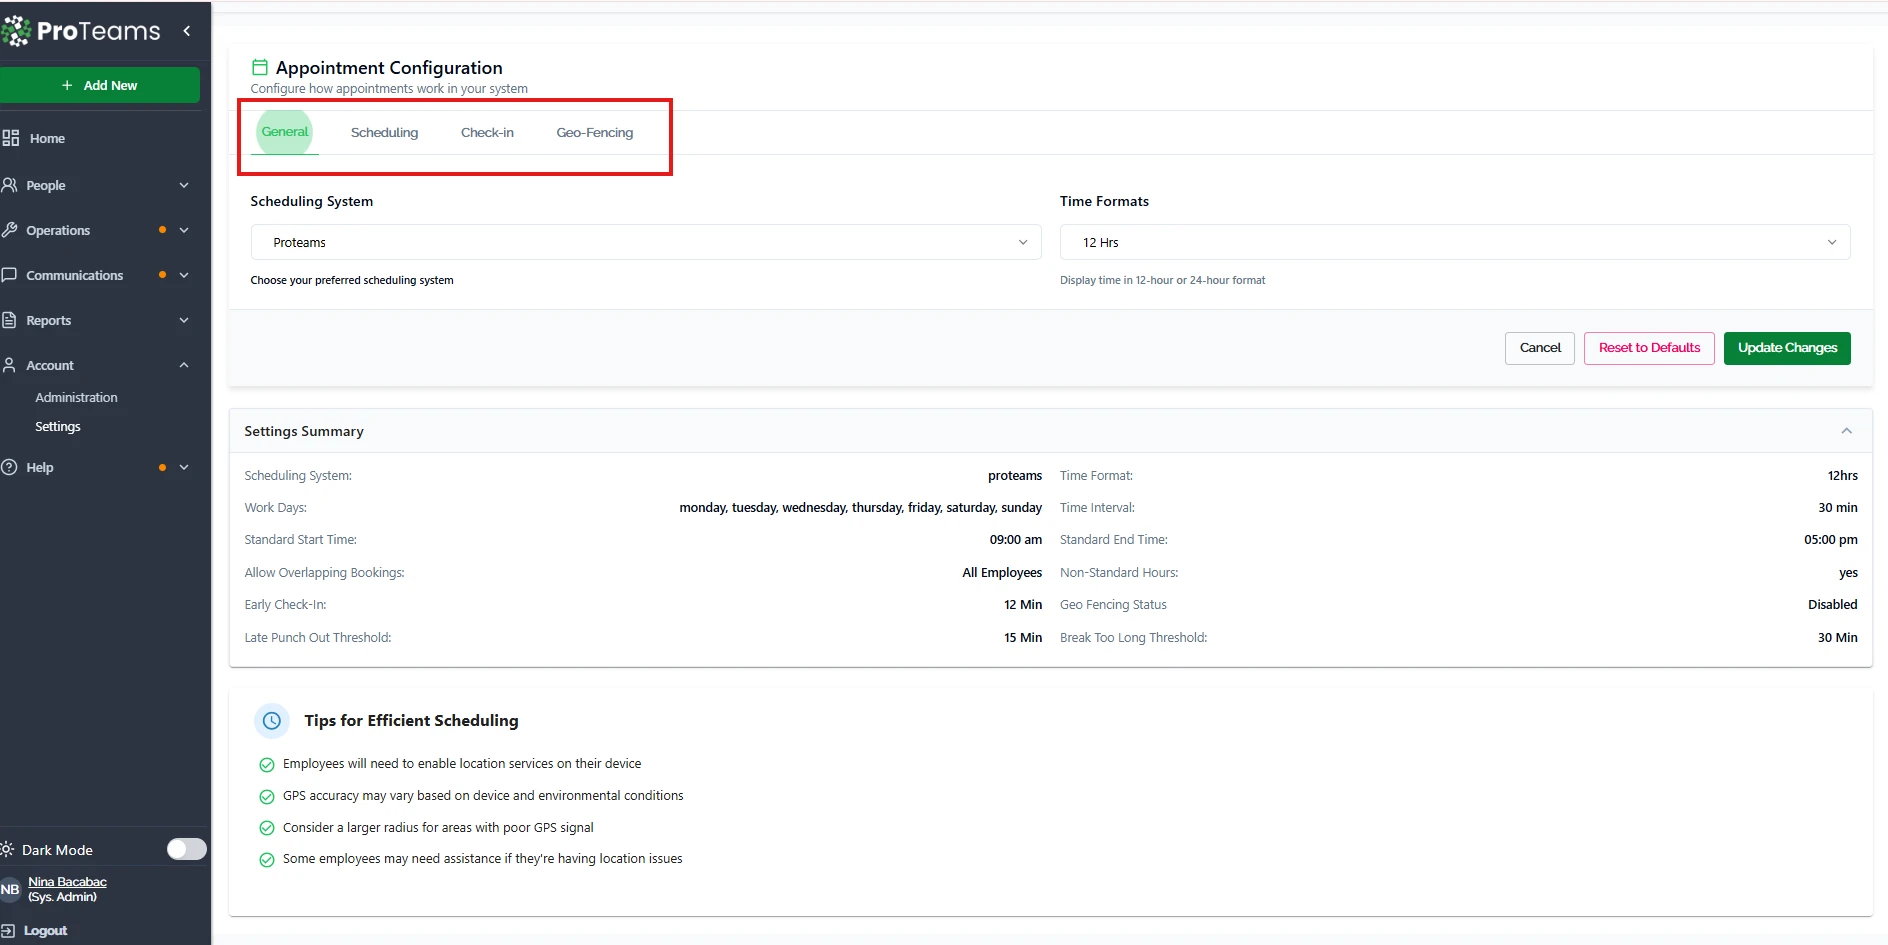
General Settings
The General tab lets you configure basic scheduling preferences for your system.
Available Options
- Scheduling System Select the scheduling method used by your organization. The default option is ProTeams.
- Time Format Choose how time is displayed across the platform:
- 12-hour format (e.g., 9:00 AM)
- 24-hour format (e.g., 14:00)
How to Update
- Open the General tab
- Select your preferred settings
- Click Update Changes to save
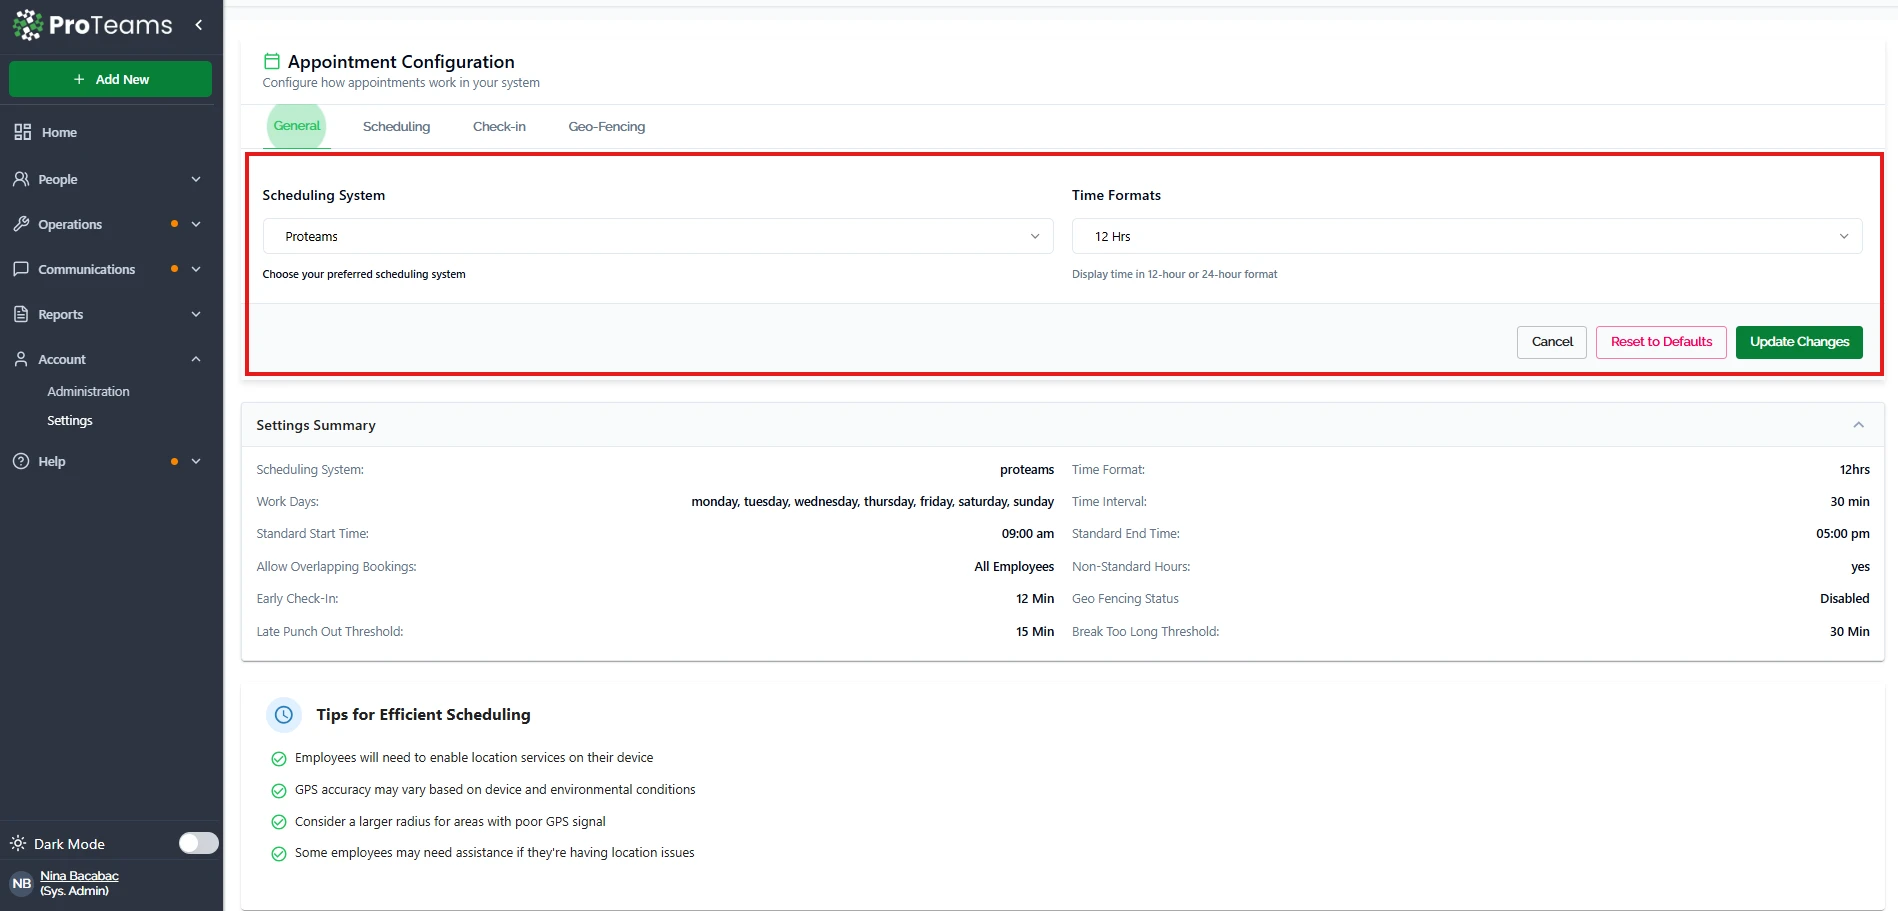
Scheduling Settings
The Scheduling tab defines when appointments can be booked and how time slots are structured.
Available Options
- Work Days Select the days when appointments are allowed. You can enable any combination of days from Monday to Sunday.
- Time Interval Set the duration of each appointment slot (for example, 30 minutes).
- Standard Start Time and End Time Define your business operating hours. These times determine when appointments can be scheduled by default.
- Work Before/After Standard Times Allow or restrict bookings outside of your defined working hours.
- Overlapping Bookings Control whether employees can have multiple appointments scheduled at the same time.
How to Update
- Open the Scheduling tab
- Configure your preferred options
- Click Update Changes
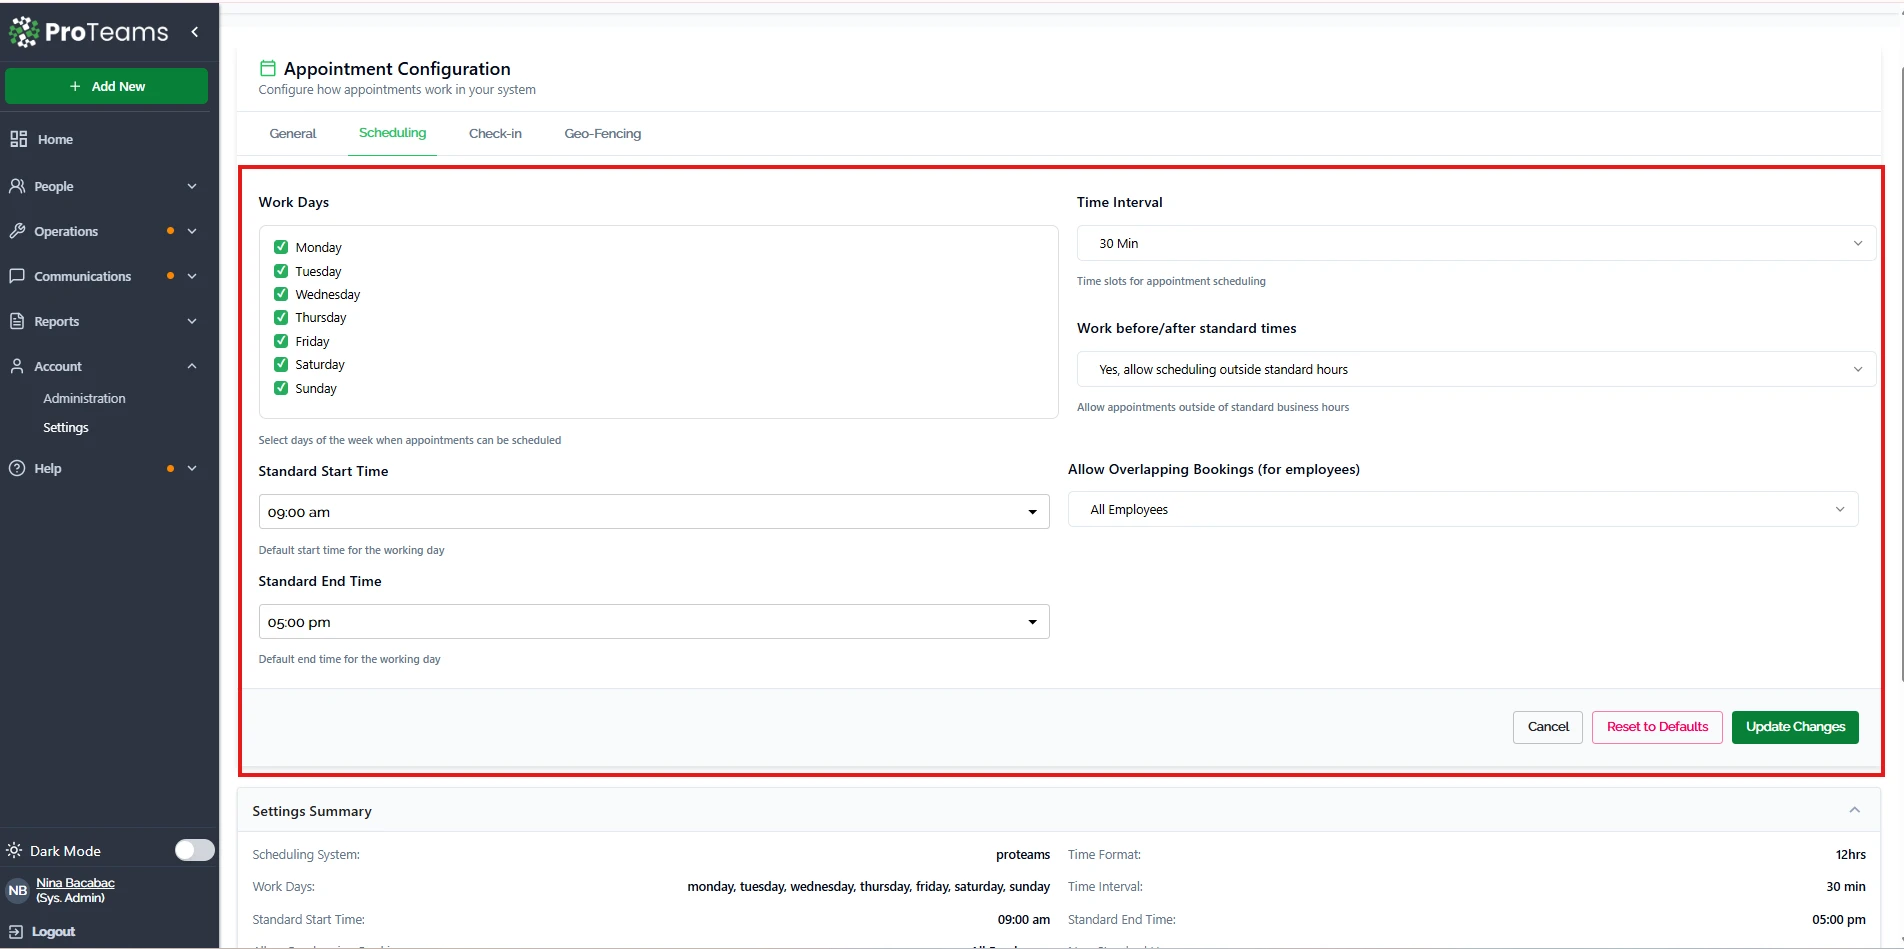
Check-in Settings
The Check-in tab controls how employee attendance and time tracking are managed during appointments.
Available Options
- Early Check-in Allow employees to check in before the scheduled appointment time.
- Late Punch-Out Threshold Define how many minutes after the scheduled end time an employee is considered late when checking out.
- Break Too Long Threshold Set a limit for break duration. Alerts can be triggered if this limit is exceeded.
How to Update
- Open the Check-in tab
- Adjust the available settings
- Click Update Changes
Geo-Fencing Settings
The Geo-Fencing tab allows you to enforce location-based restrictions for employee check-ins.
Available Options
Geo-Fencing Status
- Enabled: Employees must be within a defined location range to check in
- Disabled: No location restrictions apply
How It Works
When enabled, employees must be physically within the allowed radius of your business location to check in. The system uses GPS to verify location.
How to Update
- Open the Geo-Fencing tab
- Enable or disable the feature
- Click Update Changes
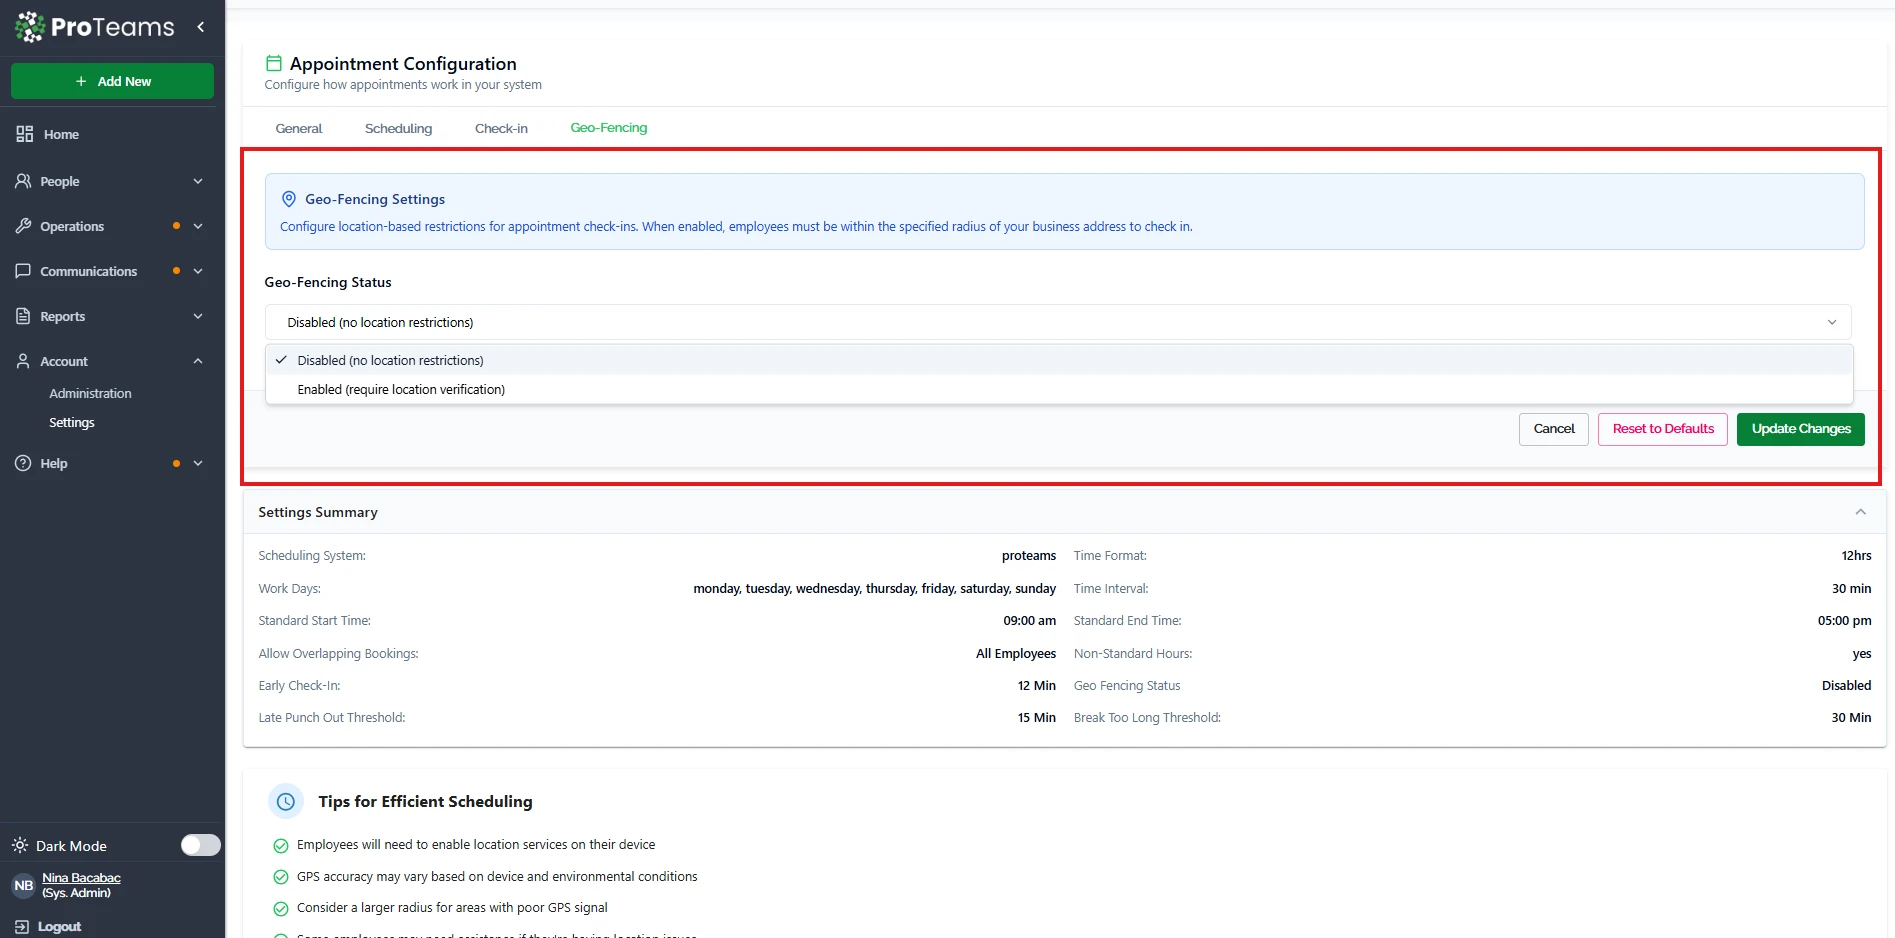
Important Notes
- Employees must enable location services on their devices
- GPS accuracy may vary depending on device and environment
Settings Summary
At the bottom of the page, a Settings Summary provides a quick overview of your current configuration, including:
- Scheduling system
- Work days
- Time intervals
- Working hours
- Check-in rules
- Geo-fencing status
This section helps you review all settings in one place.
The Settings Summary at the bottom of the page gives you a quick overview of your current configuration. Use it to confirm everything is set correctly before your first shift.